Main Dashboard
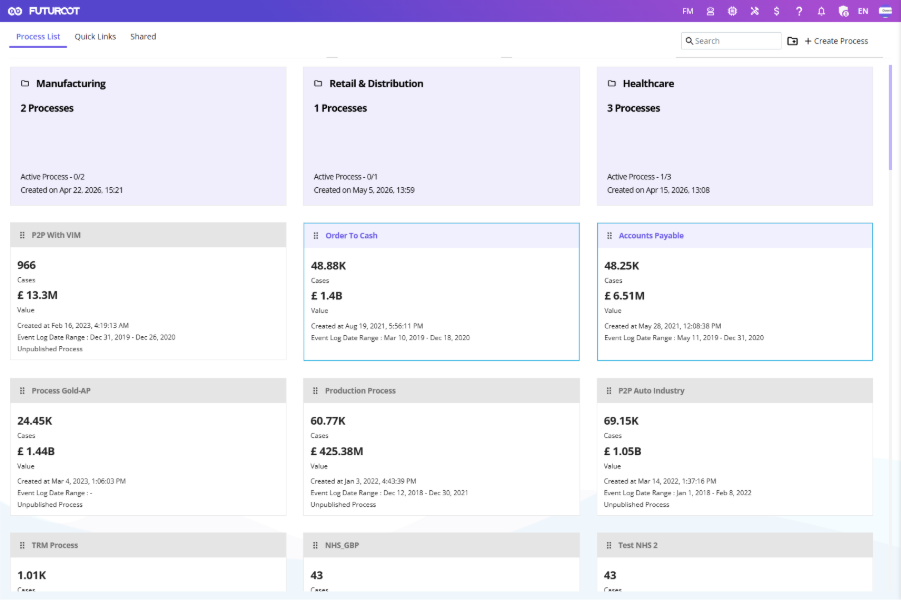
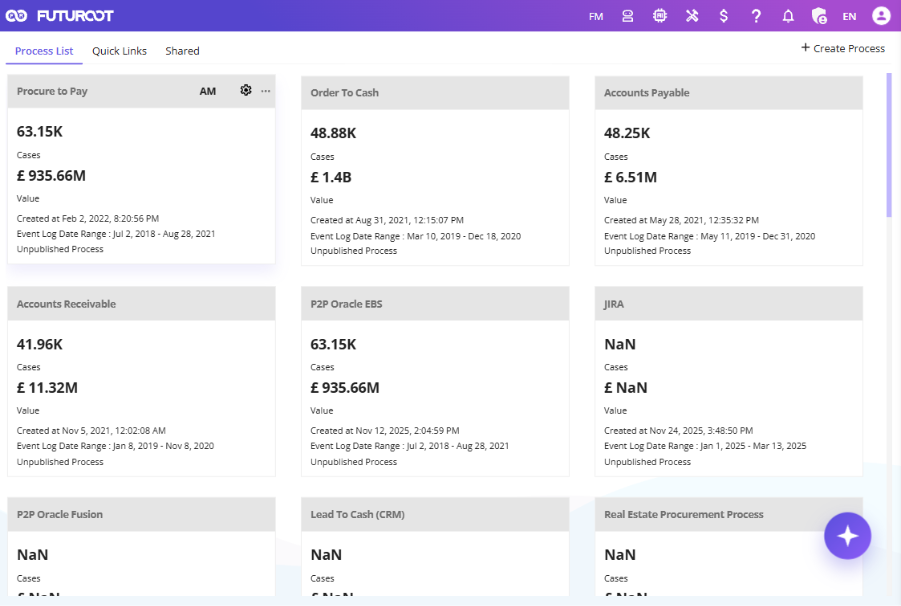
The FUTUROOT Main Dashboard is the landing page displayed after a successful login. It provides quick access to processes, saved analyses, shared content, and key application features.
Dashboard Tabs
The dashboard contains four main tabs:
- Process List – All processes configured and assigned to the user. Each tile shows Process Name, Cases, Case Value, and Extraction Timestamp.
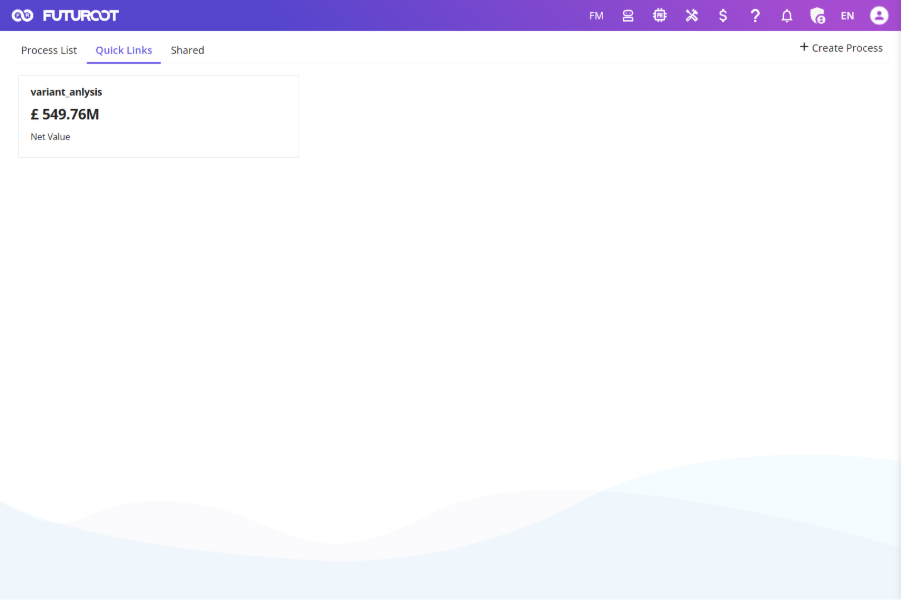
- Quick Links – Analyses created and saved by the user for quick access.
- Shared – Analyses shared with the user by other users.
- FUTUROOT Logo Navigation – Opens a panel with links to Main Dashboard, Processes, Saved Analyses, and Shared Analyses.
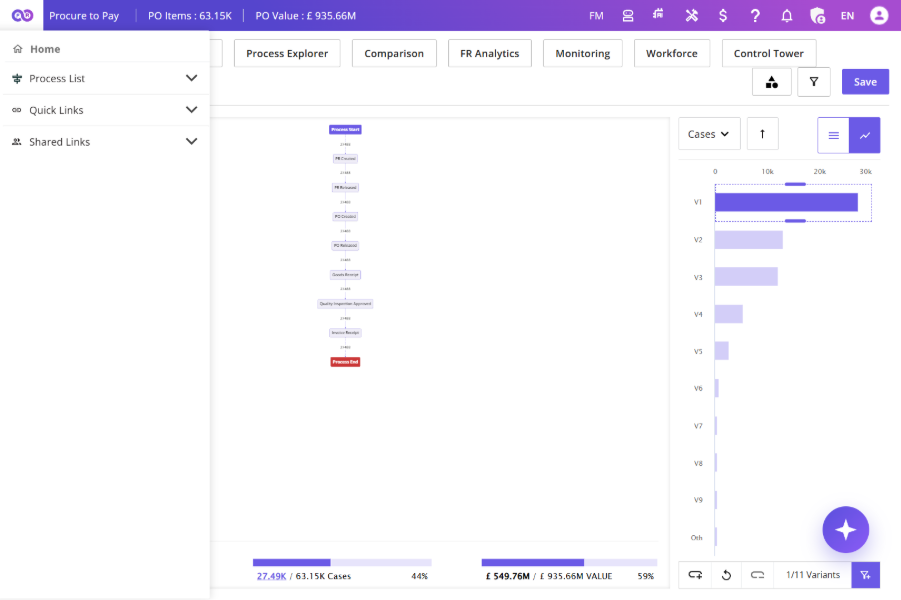
This panel provides quick access to:
- Main Dashboard
- Processes
- Saved Analyses
- Shared Analyses
Main Dashboard Header Icons
The top navigation bar provides shortcuts to key modules:

| Icon | Function |
|---|---|
| Marketplace | Browse Process packages and suites offered by FUTUROOT |
| Multi-Lingual Support | Switch interface between English, French, and Arabic in two clicks |
| Extraction | Import event logs into FUTUROOT |
| Set Reporting Currency | Select currency, upload or download exchange rates |
| Assistance | Access Learning Content, What’s New, Raise an Incident, Send Feedback |
| Notifications | View Recent Activities and Extraction details |
| Admin Control & User Profile | User Management, Role Management, Profile, Password, Logout |
Multi-Lingual Support
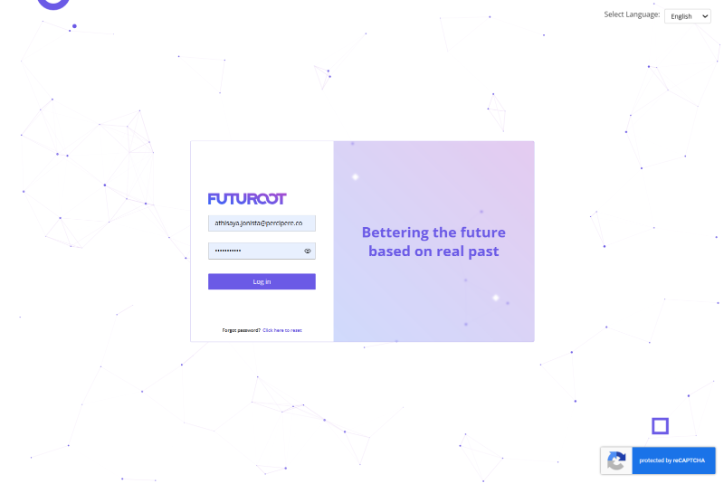
FUTUROOT supports English (EN), French (FR), and Arabic (AR). Switching languages takes two clicks and applies instantly across the entire system.
Language can be changed from two locations:
- Login Screen – Select your preferred language before signing in.
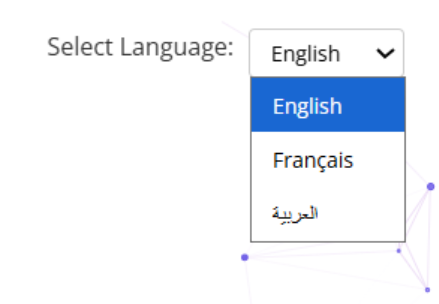
- Top Navigation Bar – Click the language indicator (EN/FR/AR) once logged in.
Create Process
The Create Process feature opens a side panel with the following fields:
- Process Name
- Process Code
- Item Description
- Value Description
- Event Log
- Time Format
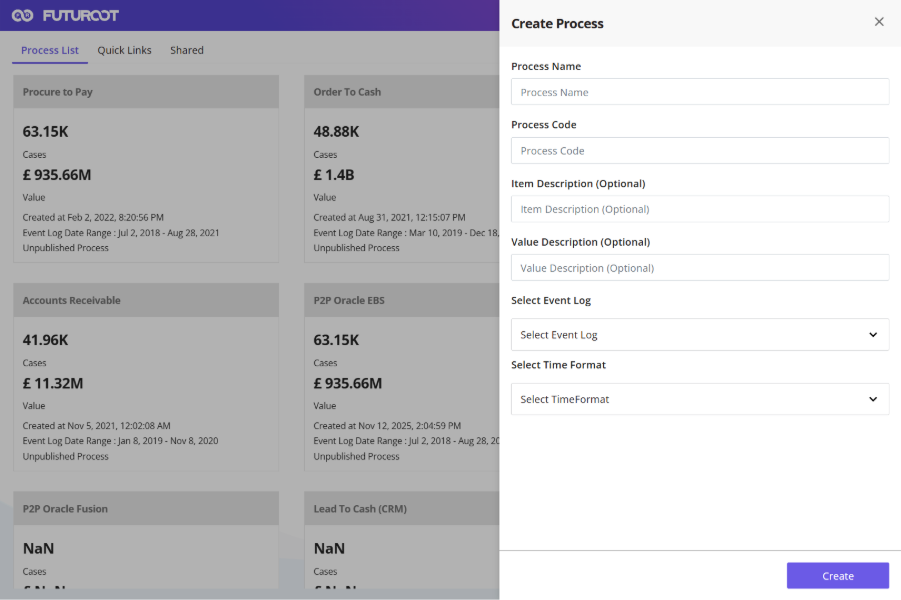
After entering the required details, click Create to create the process.
Process Sub-Folders
Organize processes into structured groups for easier management and navigation.
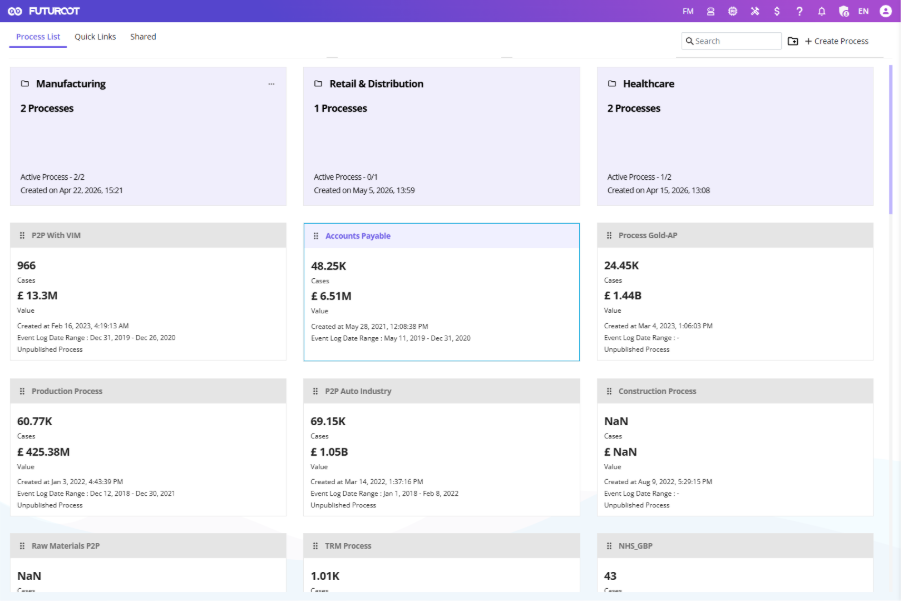
1. Creating a Folder
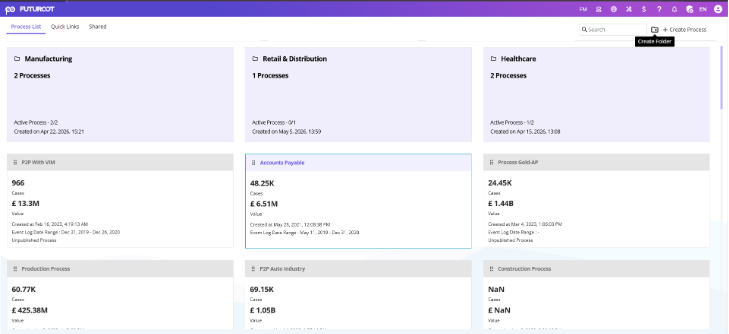
- Folder with Processes – Select processes to include when creating the folder.
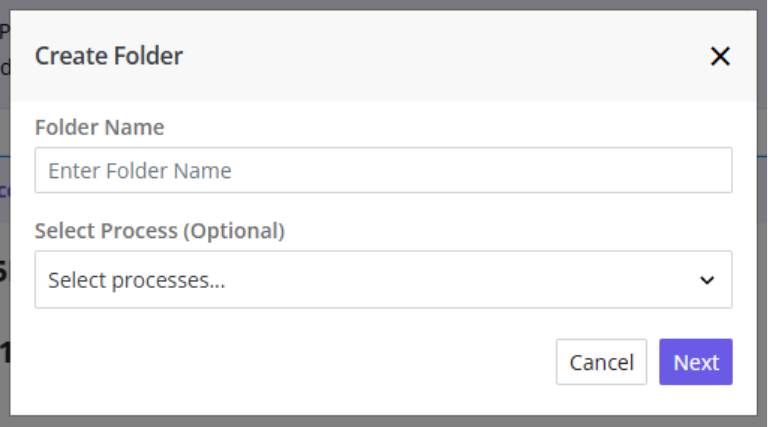
- Blank Folder – Create an empty folder and populate it later by dragging and dropping processes.
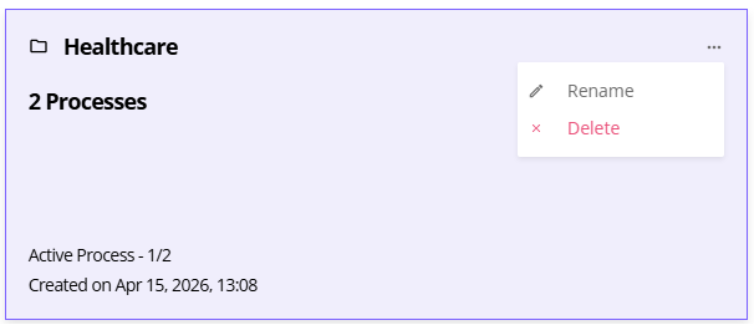
2. Managing Folders
Click the three-dot menu (⋮) beside any folder to Rename or Delete it. Only empty folders can be deleted.
3. Managing Processes within Folder
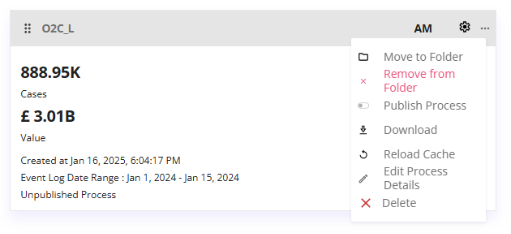
Inside a folder, click the three-dot menu ( ⋮ ) beside any process to:
- Remove from Folder — Move the process back to the main view.
- Move to Another Folder — Relocate the process directly to a different folder without returning to the main page.
4. Role-Based Access
| Action | Admin | Super User | Light User |
|---|---|---|---|
| Create & manage folders | ✅ | ✅ | ❌ |
| Drag & drop processes | ✅ | ✅ | ❌ |
| View published processes | ✅ | ✅ | ✅ |
5. Navigating to Process Settings Screen
Each process tile contains a link to the Process Settings screen in the top-right corner.
This screen provides access to advanced process analysis capabilities.
Inside a folder, click the three-dot menu ( ⋮ ) beside any process to:
- Remove from Folder — Move the process back to the main view.
- Move to Another Folder — Relocate the process directly to a different folder without returning to the main page.
Process Publishing
Control the visibility of business processes using Published and Unpublished states. A Publish Process Toggle is available on the top-right of each Process Card.
1. Navigation Path:
Homepage → Process Card → Publish Process Toggle
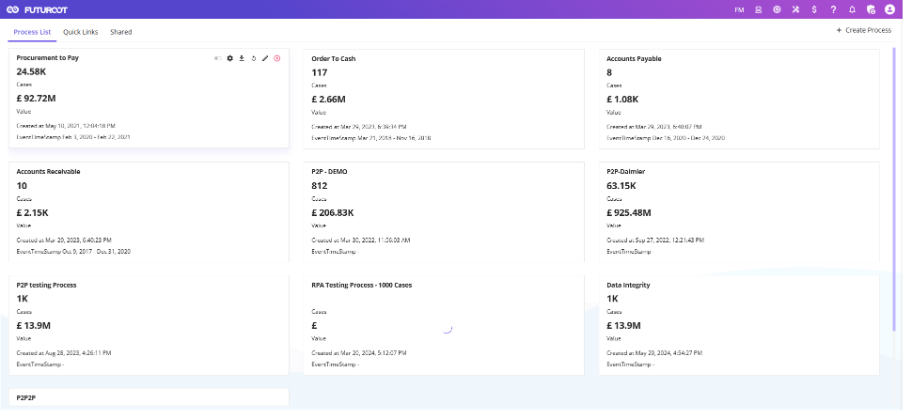
2. Publish Process Toggle
A Publish Process Toggle is available on the top-right corner of each Process Card on the FUTUROOT landing page.
3. Default Behavior
- When a new process is created, the toggle is OFF by default.
- OFF state indicates the process is Unpublished.
- Unpublished processes are visible only to Admin users.
ℹ️ When a new process is created, the toggle is OFF by default. Unpublished processes are visible only to Admin users.
4. Toggle Permissions
- Creator of the Process – Can turn the toggle ON (Publish) or OFF (Unpublish).
- Admin Users (non-creators) – Can view the toggle state but cannot change it.
- Other Users – Cannot see the toggle at all.
5. Toggle Tooltips
Hovering over the toggle displays the current state:
- Published – when toggle is ON
- Unpublished – when toggle is OFF
6. Publishing a Process
When the Creator-Admin turns the toggle ON, a confirmation prompt appears.
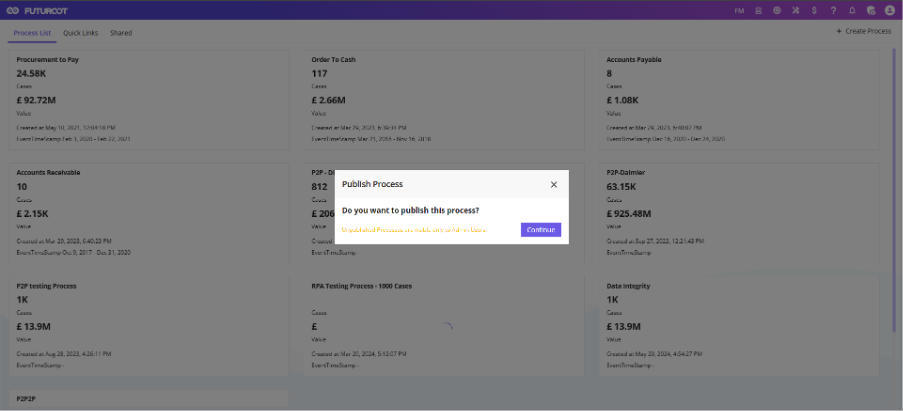
Prompt Components:
- Title
- Subtitle: Publish Confirmation
- Message:
- “Unpublished processes are visible only to Admin Users.”
- Continue button
Clicking Continue publishes the process
- A toast message appears: “[Process Name] Published Successfully!”
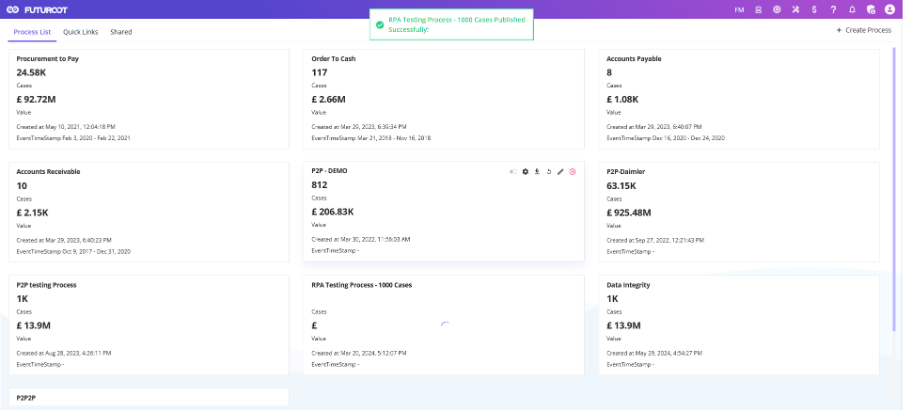
- The process becomes visible to all authorized users
7. Unpublishing a Process
When the Creator-Admin turns the toggle OFF, a confirmation prompt appears.
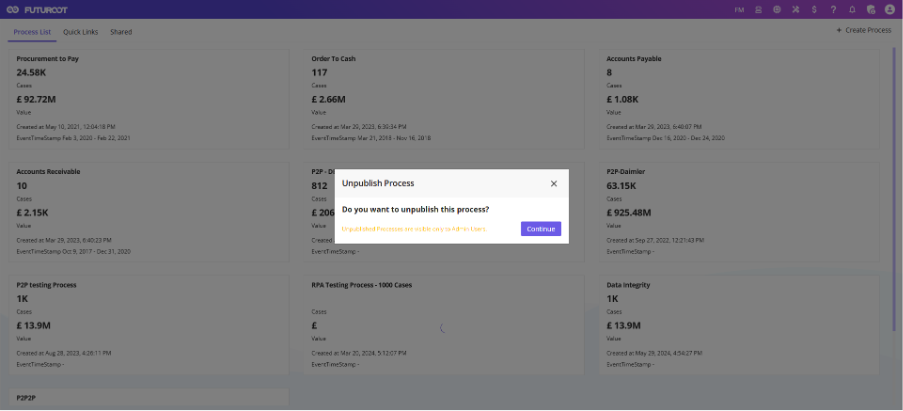
Prompt Components:
- Title
- Subtitle: Unpublish Confirmation
- Message: “Unpublished processes are visible only to Admin Users.”
- Continue button
Clicking Continue unpublishes the process
- A toast message appears: “[Process Name] Unpublished Successfully!”
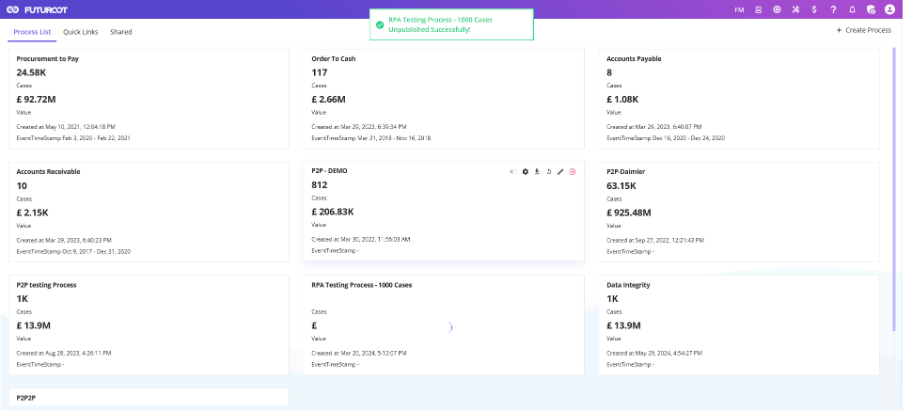
- The process is removed from: FUTUROOT Landing Page & Process dashboards
Email notifications are automatically sent to all users based on the publishing state.
- Unpublished State – Non-Admin Users : Users are informed that the process is temporarily unavailable.
- Unpublished State – Admin Users: Admins are informed that the process is unpublished but remain able to access it.
- Published State – All Users: All users are notified when a process is published.